What you need
- A Microsoft Office 365 account – a regular Microsoft account won’t work
- Microsoft Teams
- A web browser
What not to do
- Make a quiz – You need an actual form for this. Microsoft makes it deliberately confusing as to which you’re working on, and you cannot turn a quiz back into a form later
- Add a forms object/connection to an existing excel spreadsheet – this makes a form that is tied to the spreadsheet and may make it difficult to access as this only works from the web interface, not the app
- Download the excel spreadsheet – this is just a file without connections and won’t update as new data comes in
How to make an Excel File that Auto Updates with Results from A Brand New Form
- Open Microsoft Teams (in the app or the browser)
- Go to a team you want to collaborate with for the form
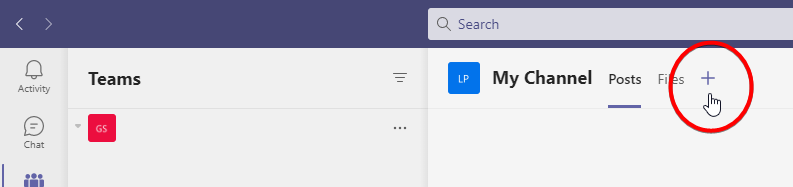
- Add a new tab
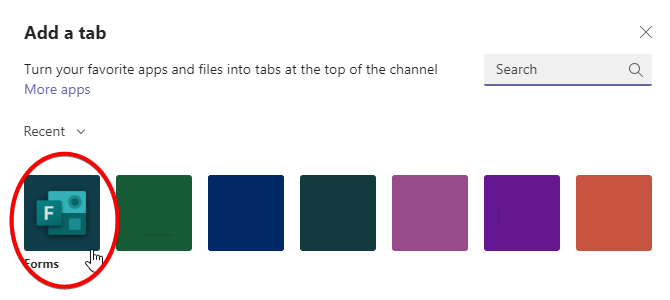
- Select forms
- Select “Create a shared form that your team can edit and see results”
- The new tab will now appear with the form – you can edit this however you want
- Click on “Responses”
- Click the excel icon with a cloud next it
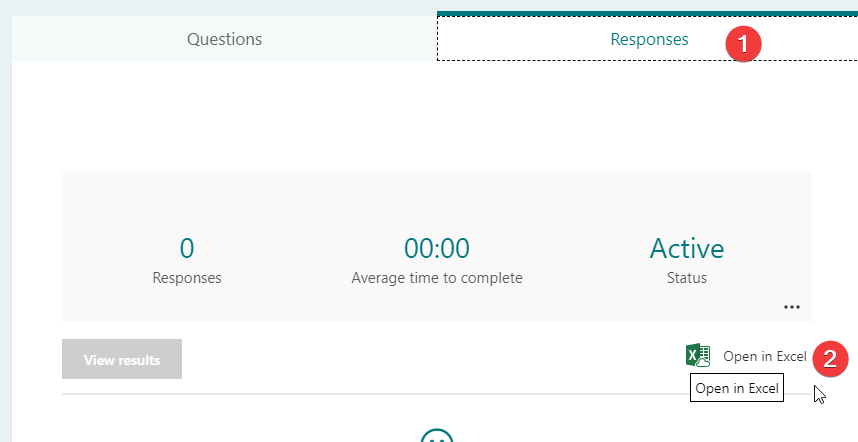
- If you see a regular excel icon with no cloud, you messed up. Try again from step 1, and make sure you’re using a form, not a quiz

- A new excel spreadsheet will open in your browser that can auto-populate with the results
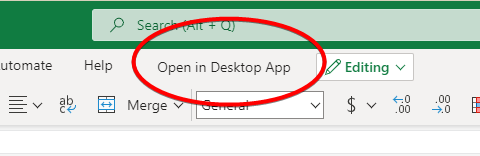
- Bookmark this page, copy and paste the URL into a teams chat, or click “open in desktop app” so you can find it again easier later
How to make an Excel File that Auto Updates with Results from A Pre-Existing Form
- Locate the form in your forms overview page
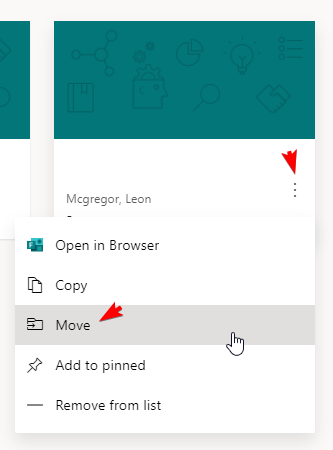
- Click the ⠇ icon
- Select move
- Choose a team to move it to (a team you want to collaborate with for the form)
- Click the move button
- Open the selected team in the teams app
- Add a new tab
- Select forms
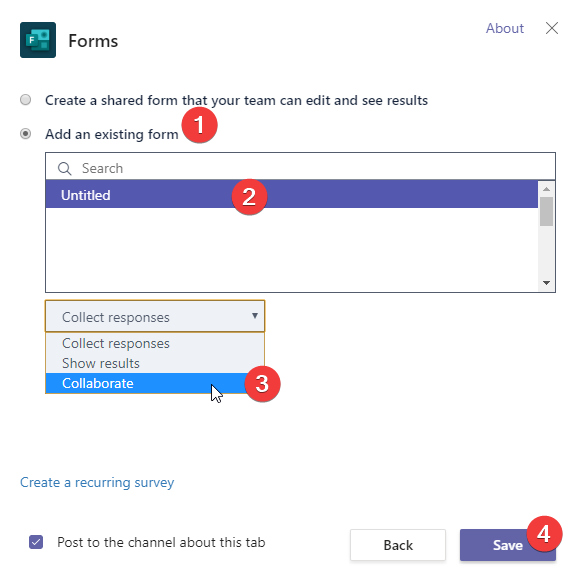
- Select “Add an existing form”
- Pick the form you just moved
- Important: If it has “(Personal)” at the end of the name, you didn’t move it properly. Repeat from step 1 again
- Open the dropdown menu that says “Collect Responses”
- Change it to “Collaborate”
- Click the “save” button
- The new tab will now appear with the form – you can edit this however you want
- Click on “responses”
- Click the excel icon with a cloud next it
- If you see a regular excel icon with no cloud, you messed up. Try again from step 1, and make sure you’re using a form, not a quiz
- A new excel spreadsheet will open in your browser that can auto-populate with the results
- Bookmark this page, copy and paste the URL into a teams chat, or click “open in desktop app” so you can find it again easier later
How to turn an Existing Quiz back into a Form
So you’ve messed up and created a quiz. I did that. And you only noticed after you already started getting results back. How do you turn a quiz back into a form that you can actually use?
- You don’t

Once a quiz or form is made, you cannot change one into the other. Despite having separate branding they are actually two completely different types of service. So your only real option is to painstakingly recreate your form, this time making sure to pick “New Form” instead of “New Quiz”:
- Follow the instructions above to create A Brand New Form
- One by one, Copy and paste all your questions from the broken quiz into the new form. There is no easy way to do this.
- Open the new form’s auto updating excel spreadsheet in the excel desktop app
- Open the broken quiz
- Go to responses
- Click the excel icon to download the responses as an excel file
- Open this file in the excel app
- Copy the rows in the table (not the header row)
- Paste them into the new form’s spreadsheet (not overwriting the header row)
If anything in this blog post sounds painful or tedious, good, you’re reacting correctly. If you’re a paying Microsoft customer (or your IT admin is), let Microsoft know that any of the above processes ought to be streamlined into requiring no clicks at all.
There’s no reason why a regular form can’t have an auto-updating spreadsheet. there’s no reason why a Quiz can’t have one either. There’s no reason why I should need to use teams in order to use forms.
I wrote this down both for my own reference and to help out anyone else who has the same problem. If that describes you, I hope you have a good day and hopefully these instructions will save you some time.
OMG – FINALLY!!!!!!! After hours and hours of searching, I think I found the answer here!
And, I SO SO SO agree w/ your statement “There’s no reason why a regular form can’t have an auto-updating spreadsheet. there’s no reason why a Quiz can’t have one either. There’s no reason why I should need to use teams in order to use forms.”
If this works like I think it will, I am BEYOND grateful.
Glad this helped
Totally agree!! and thank you so much for this!